How to display data using complications with KWCH
#
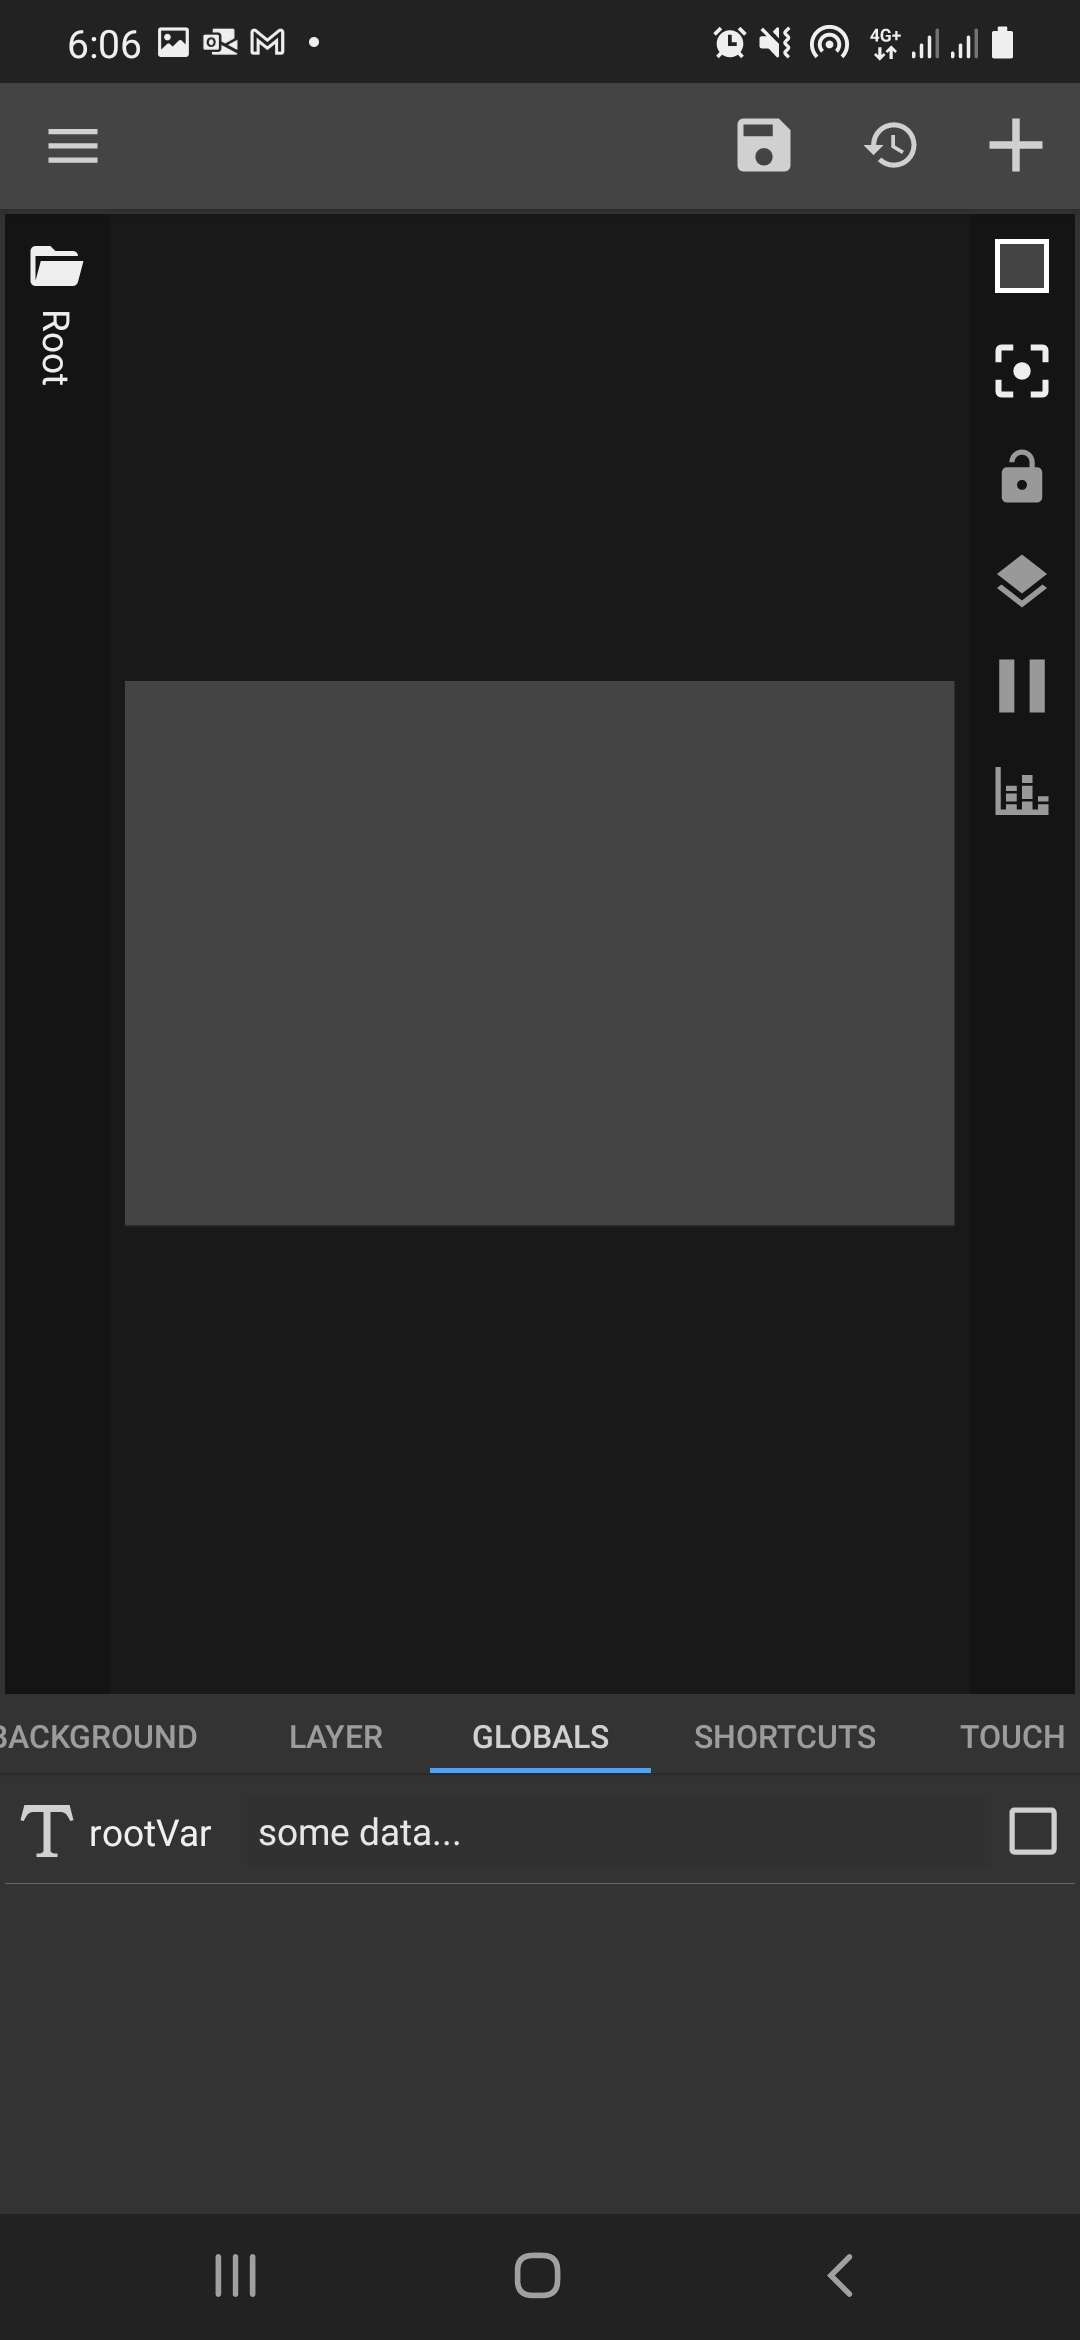
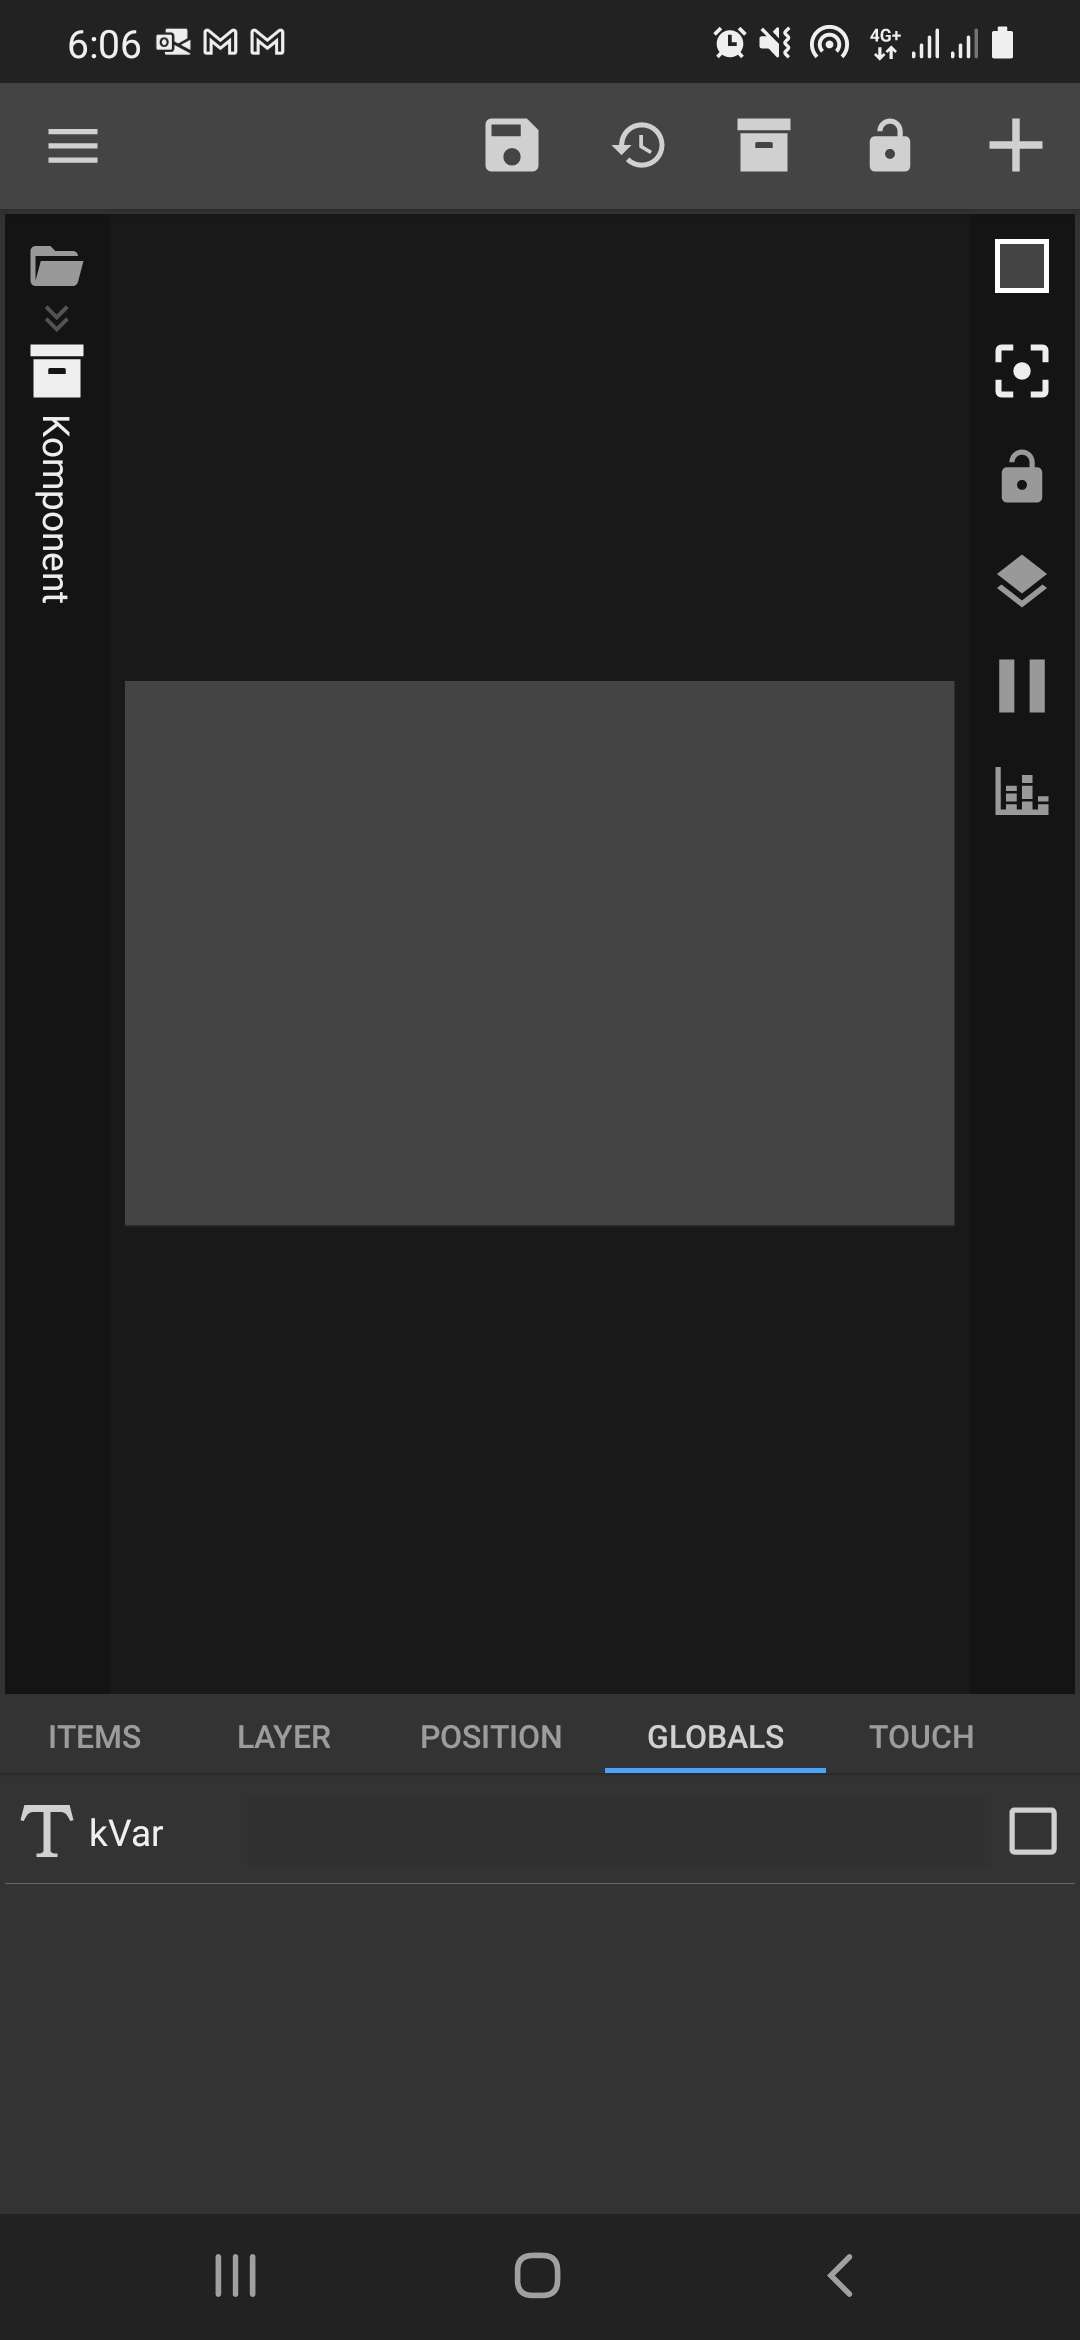
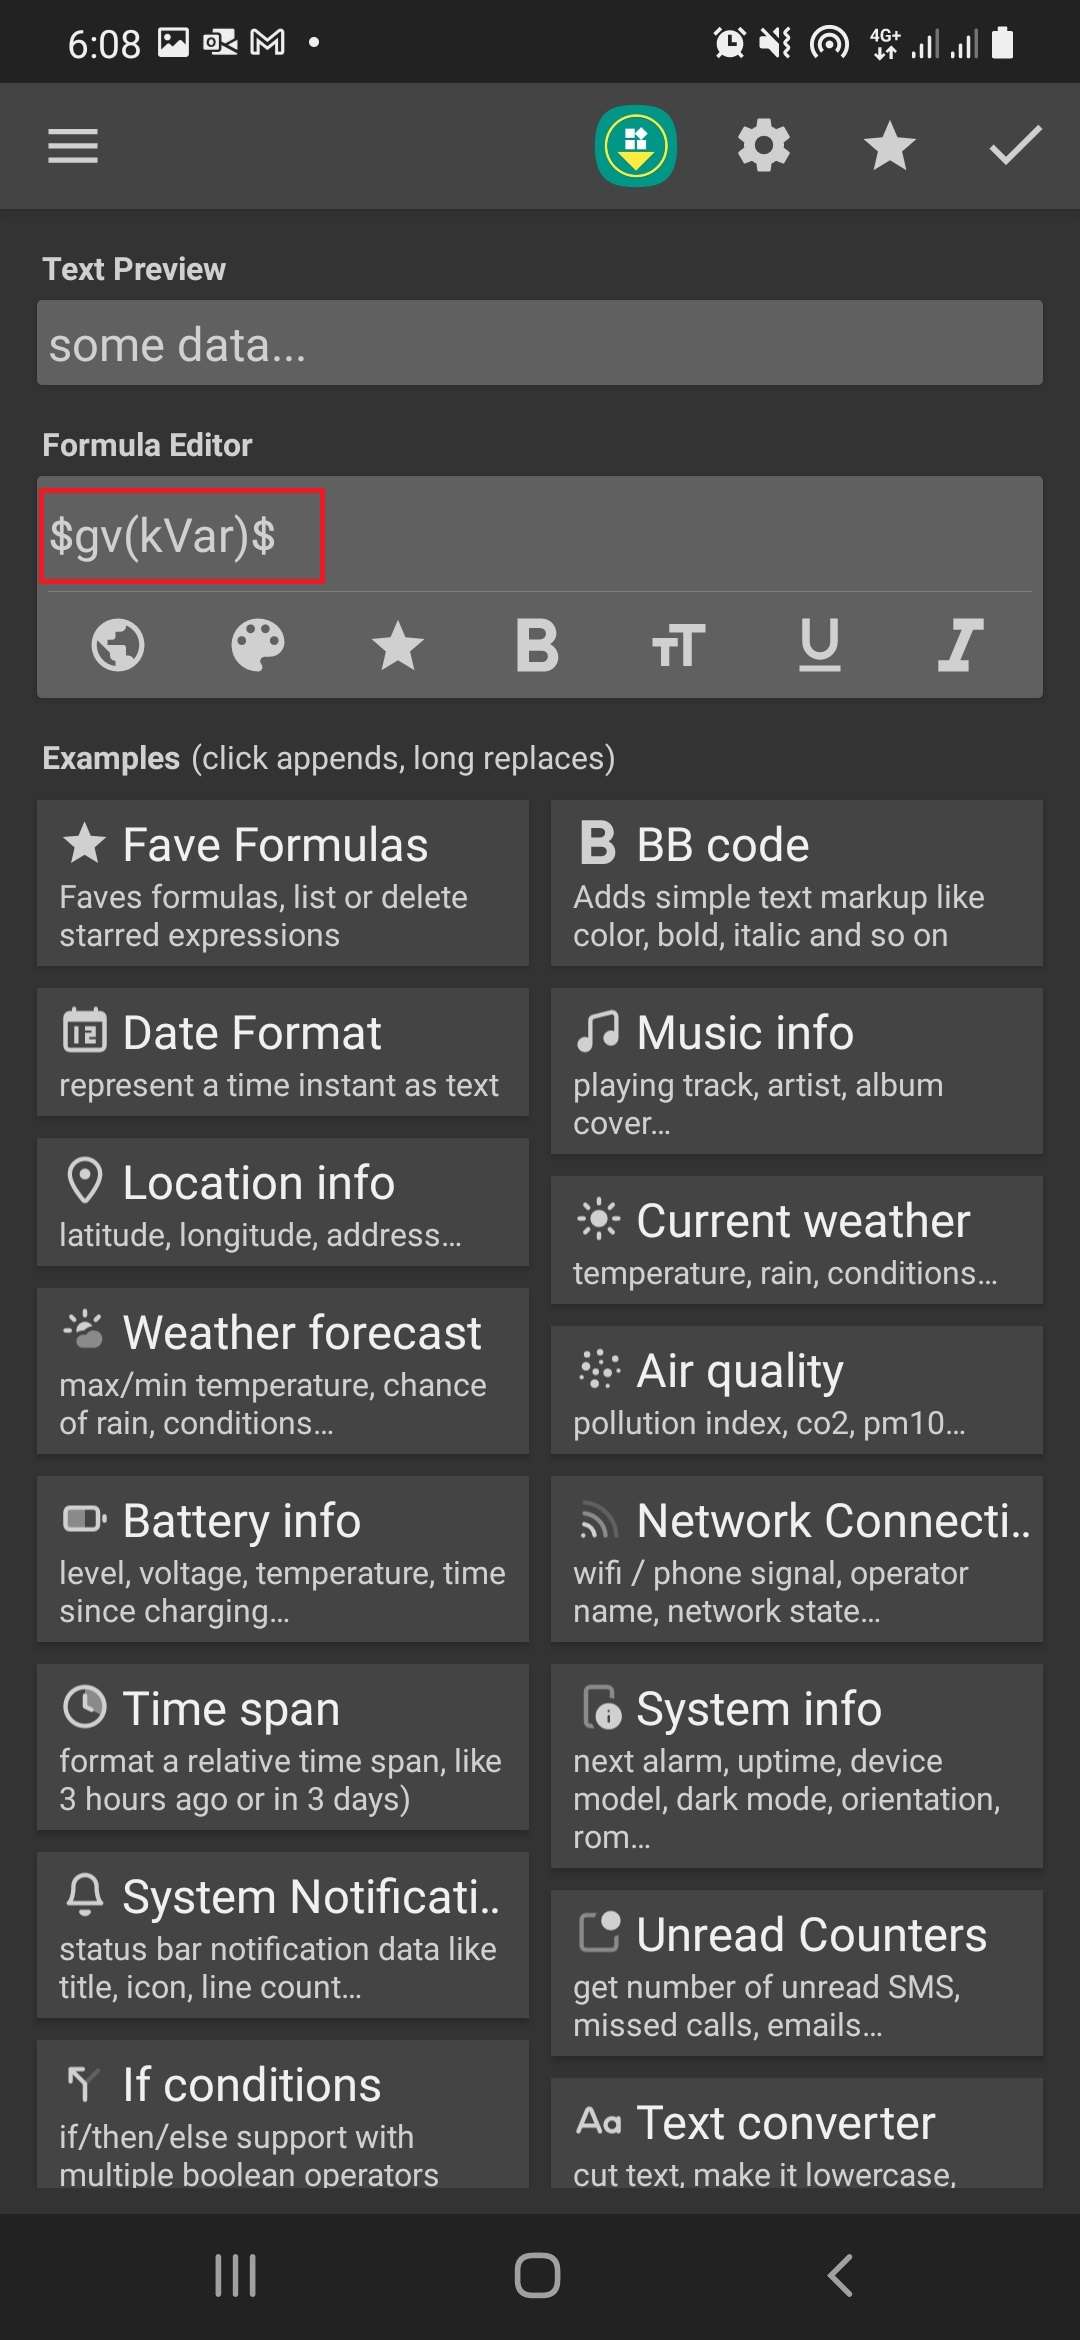
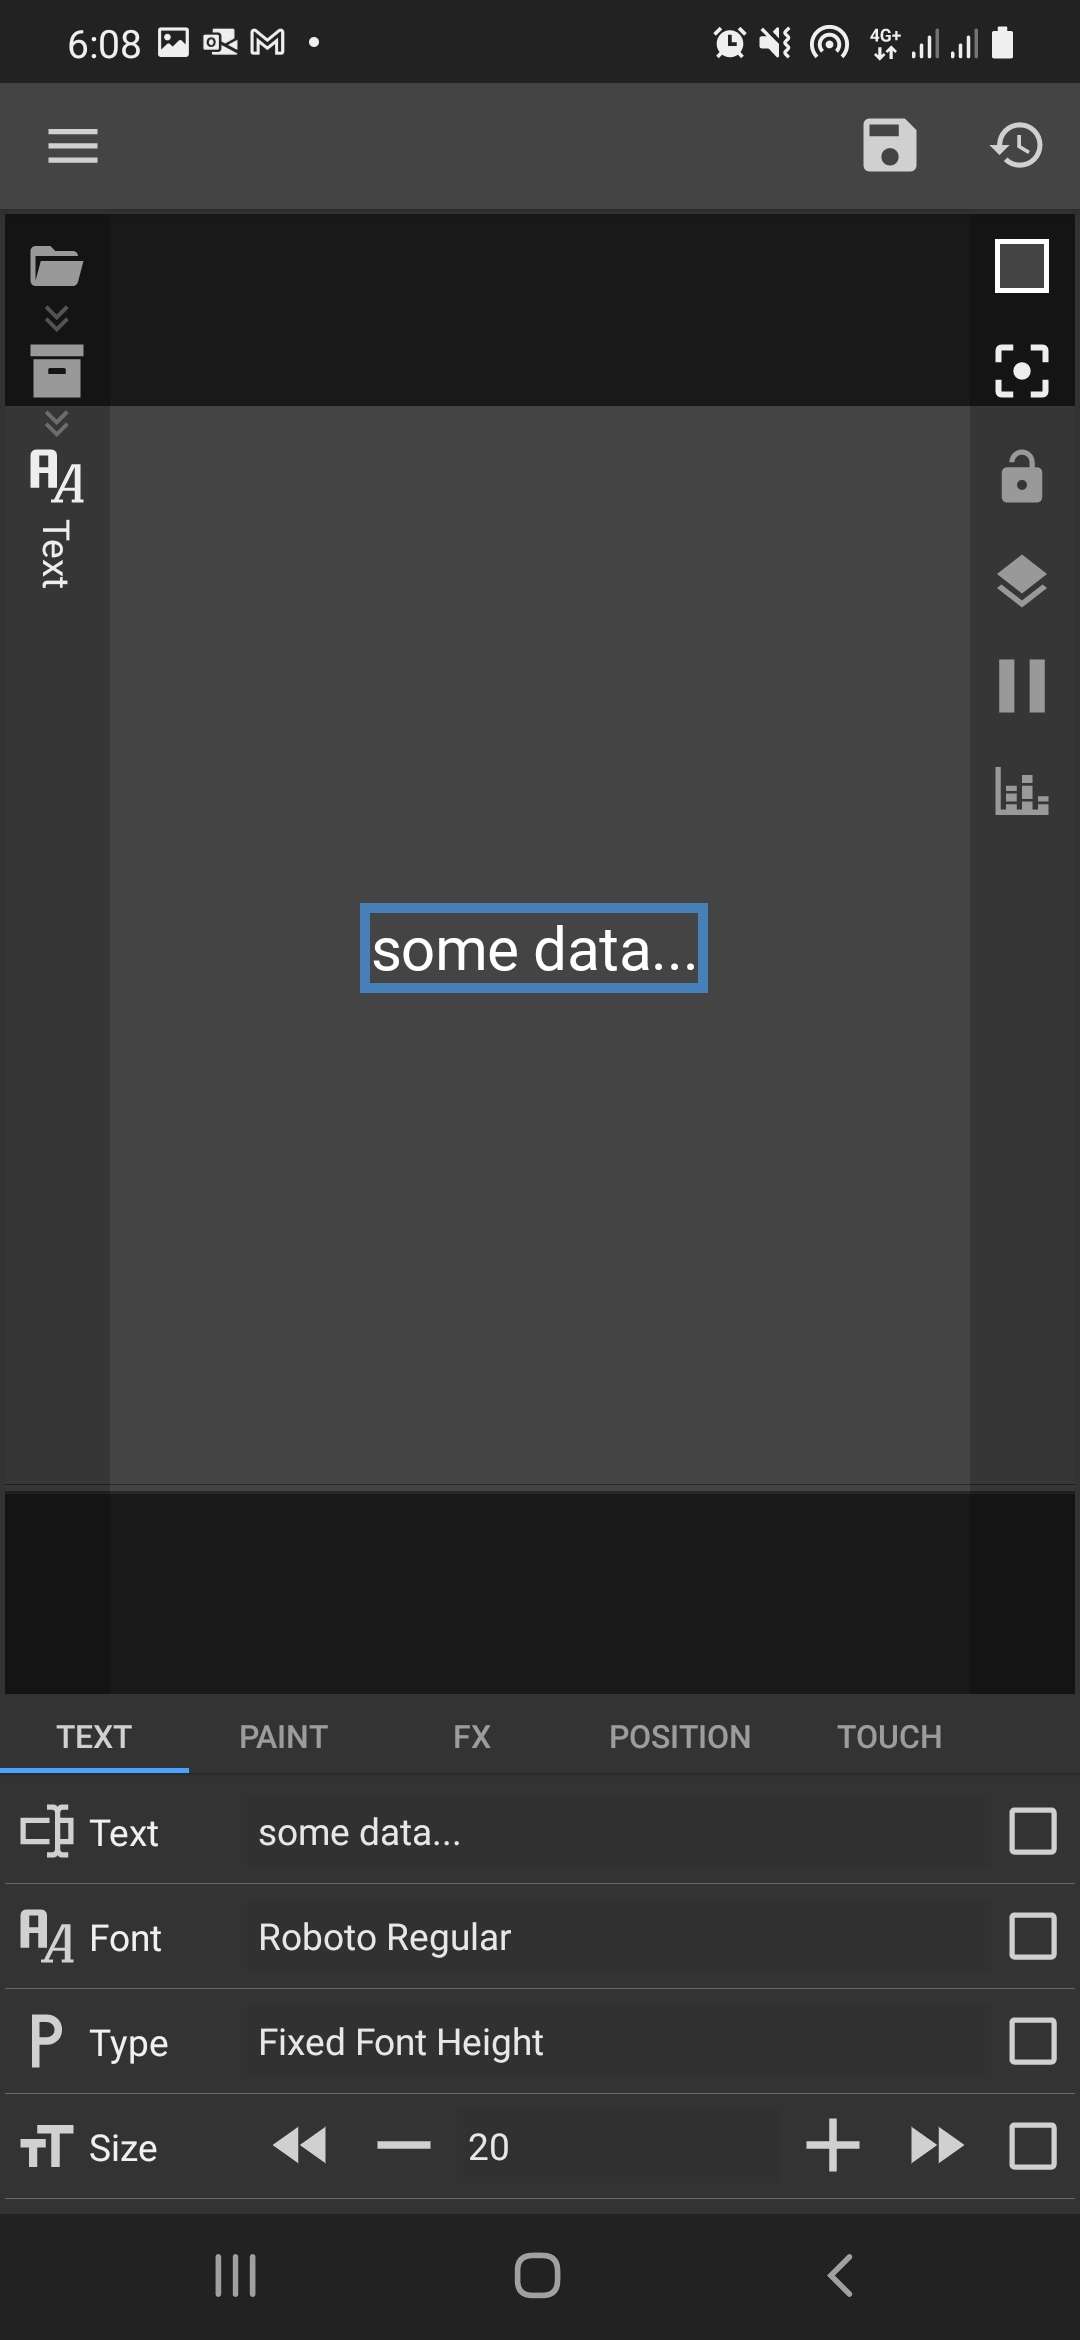
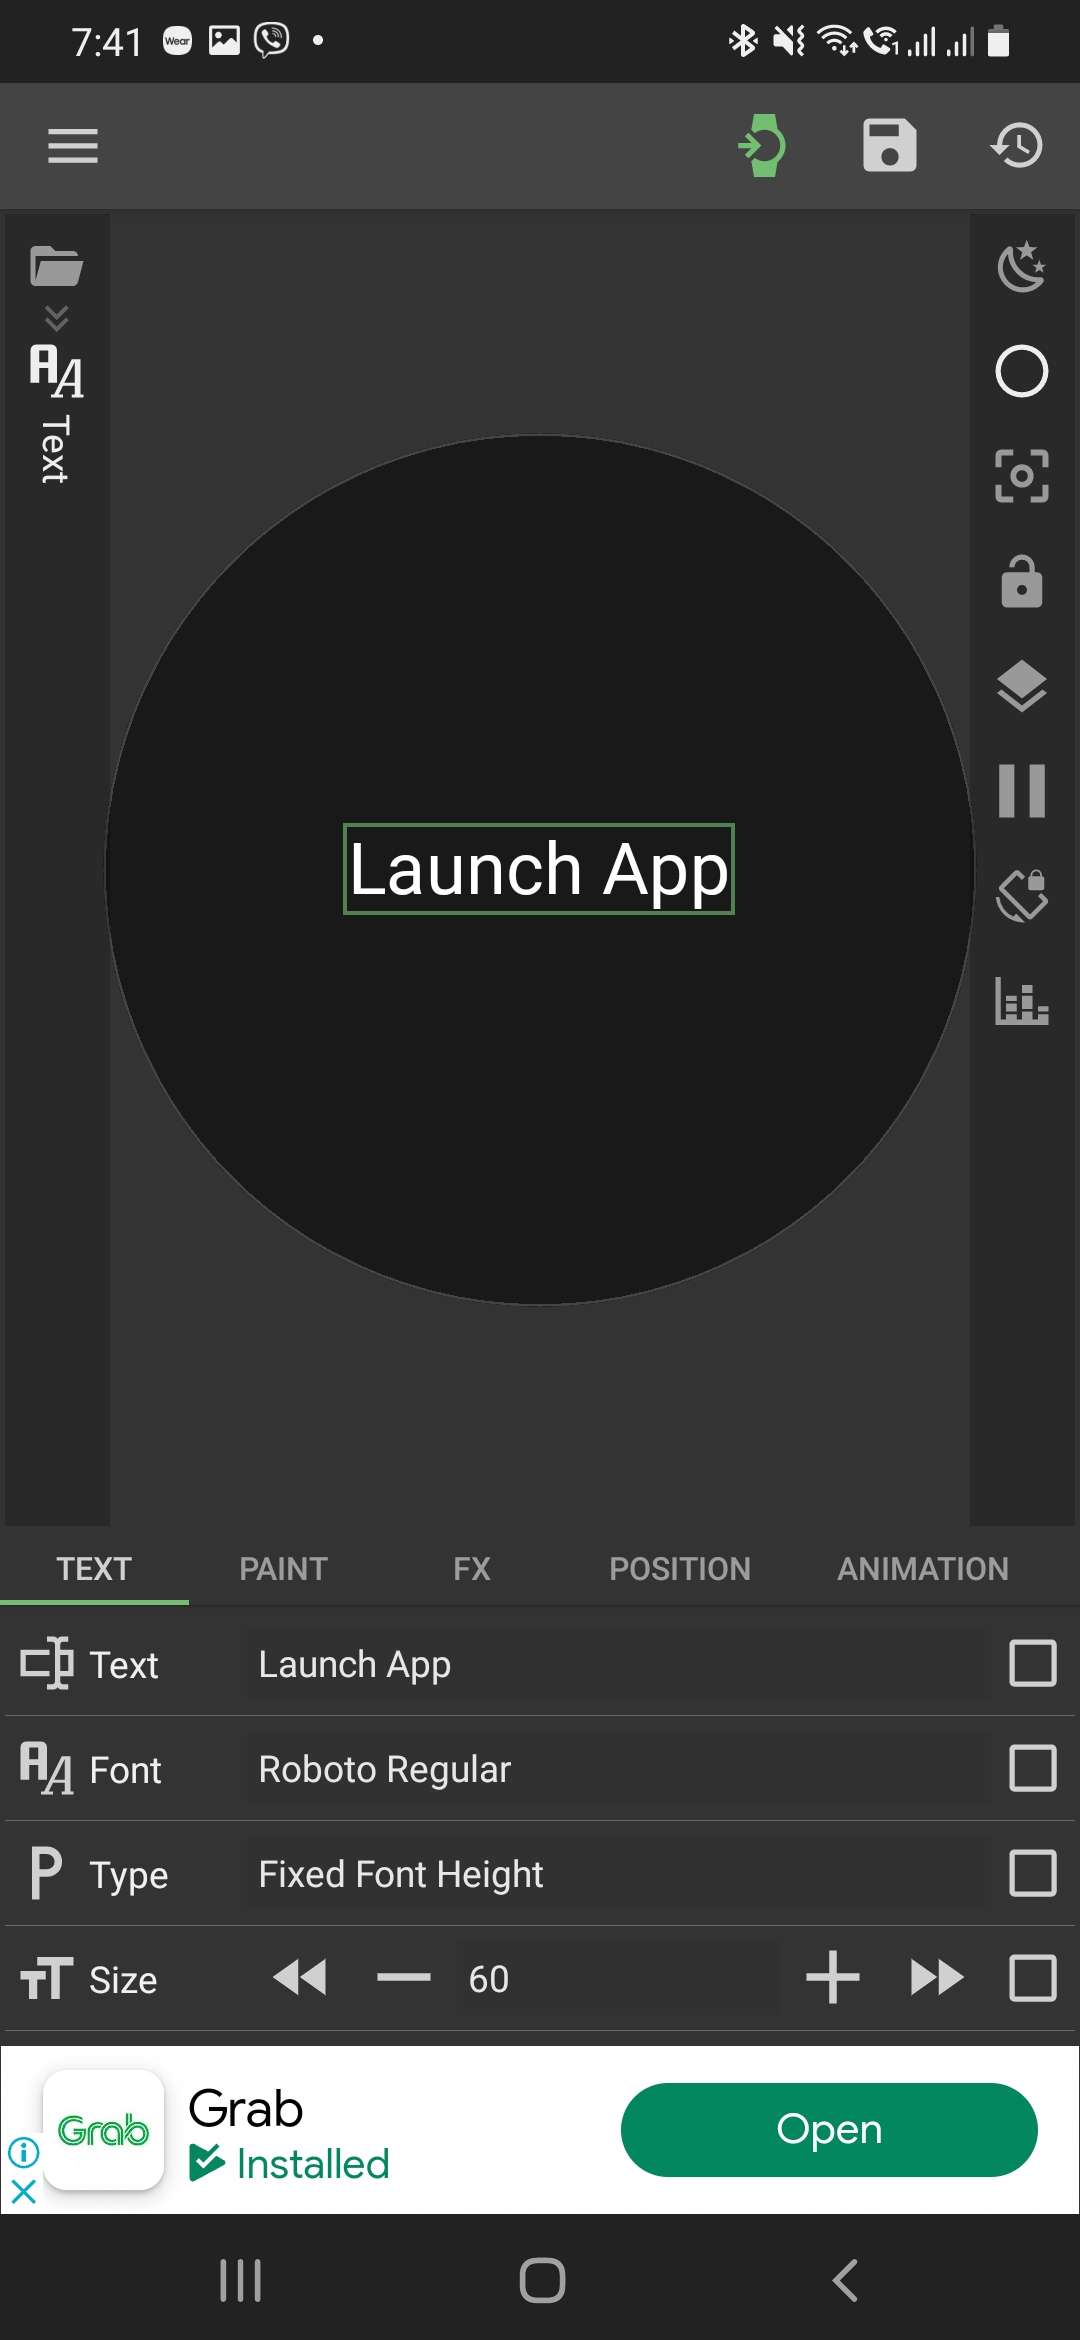
- Add a text element in the KWCH editor
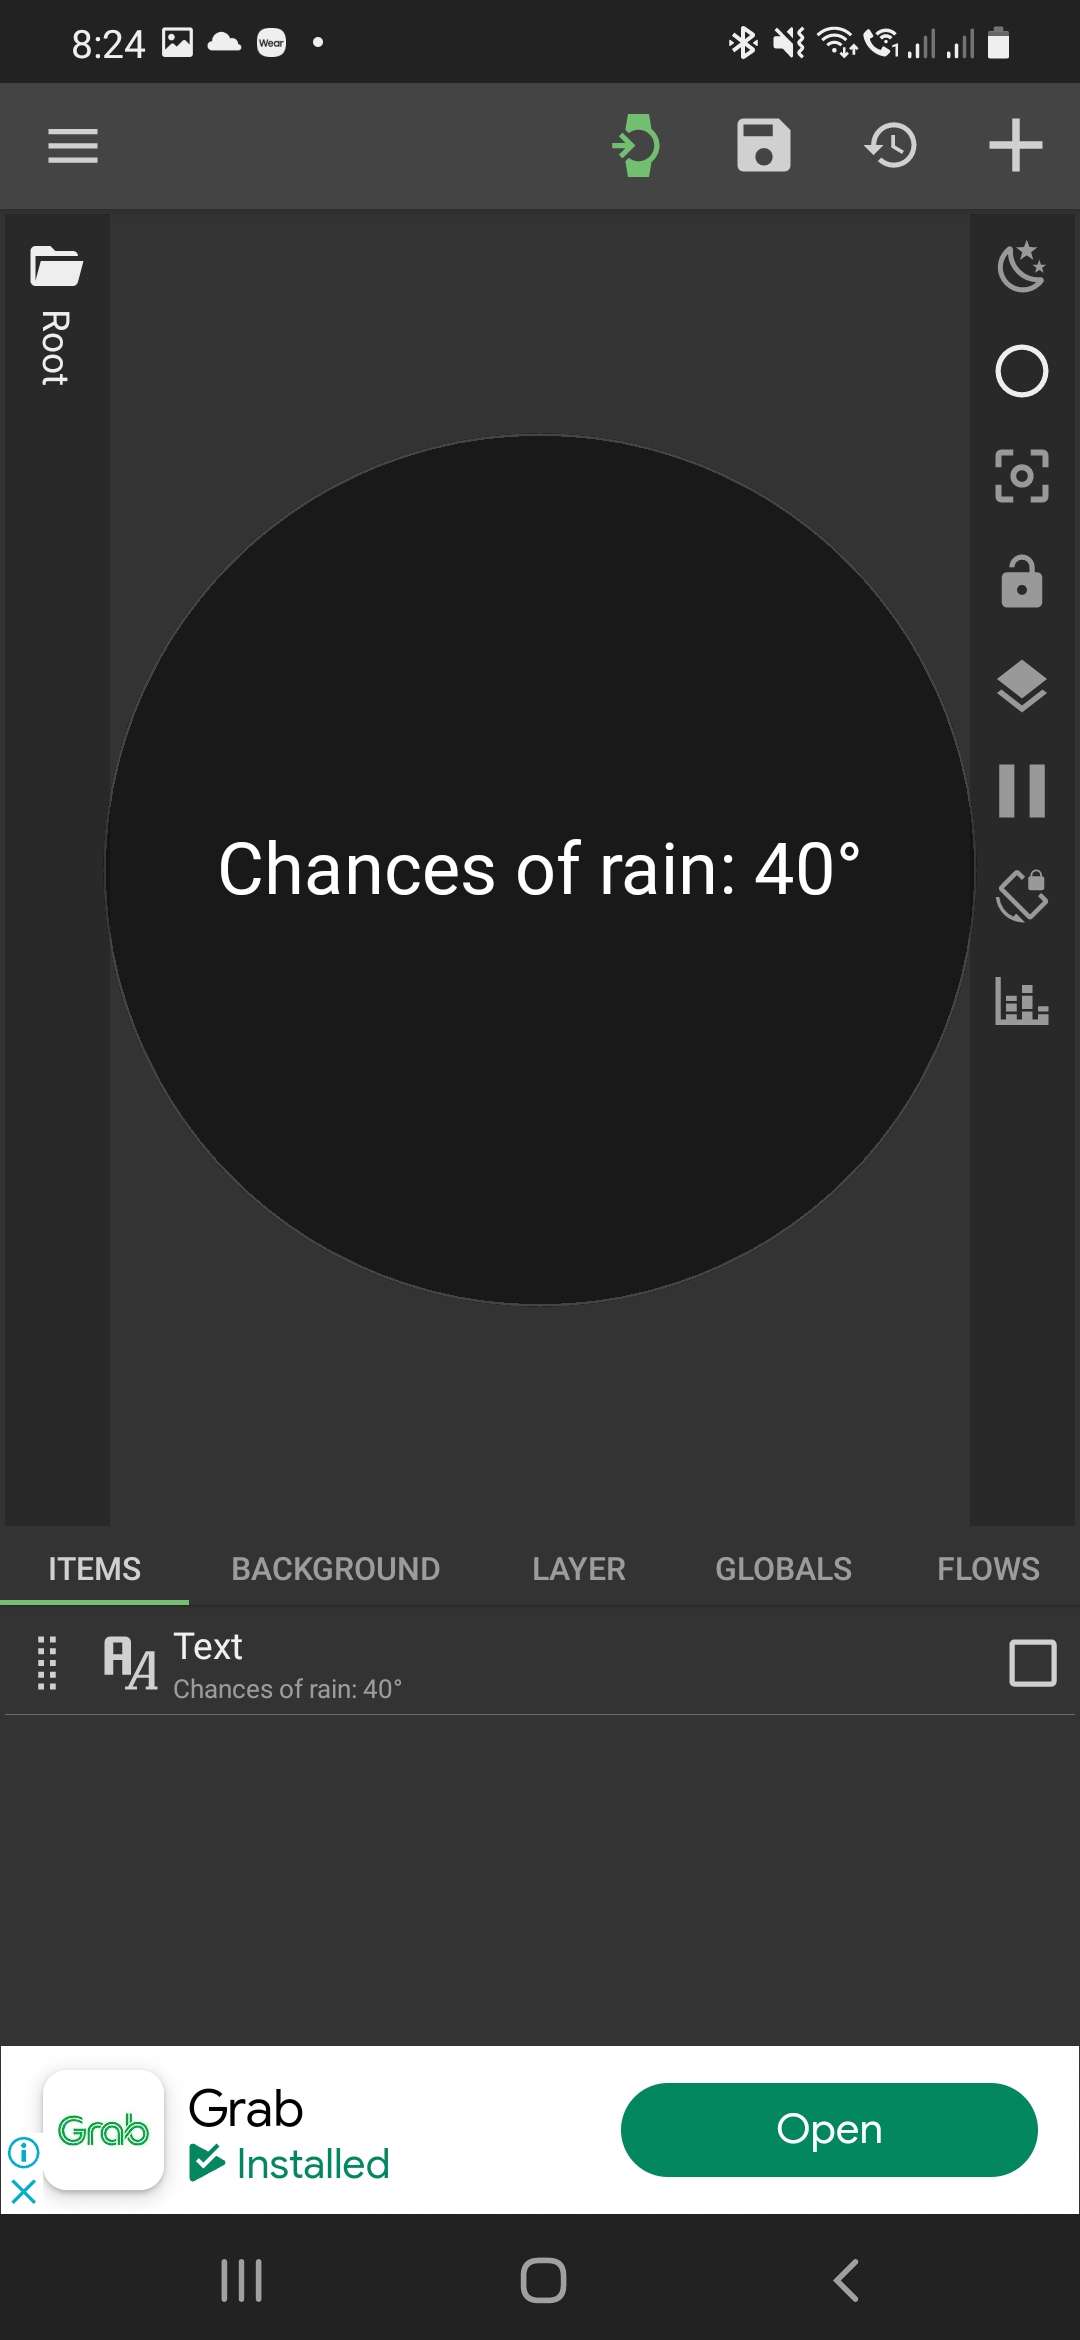
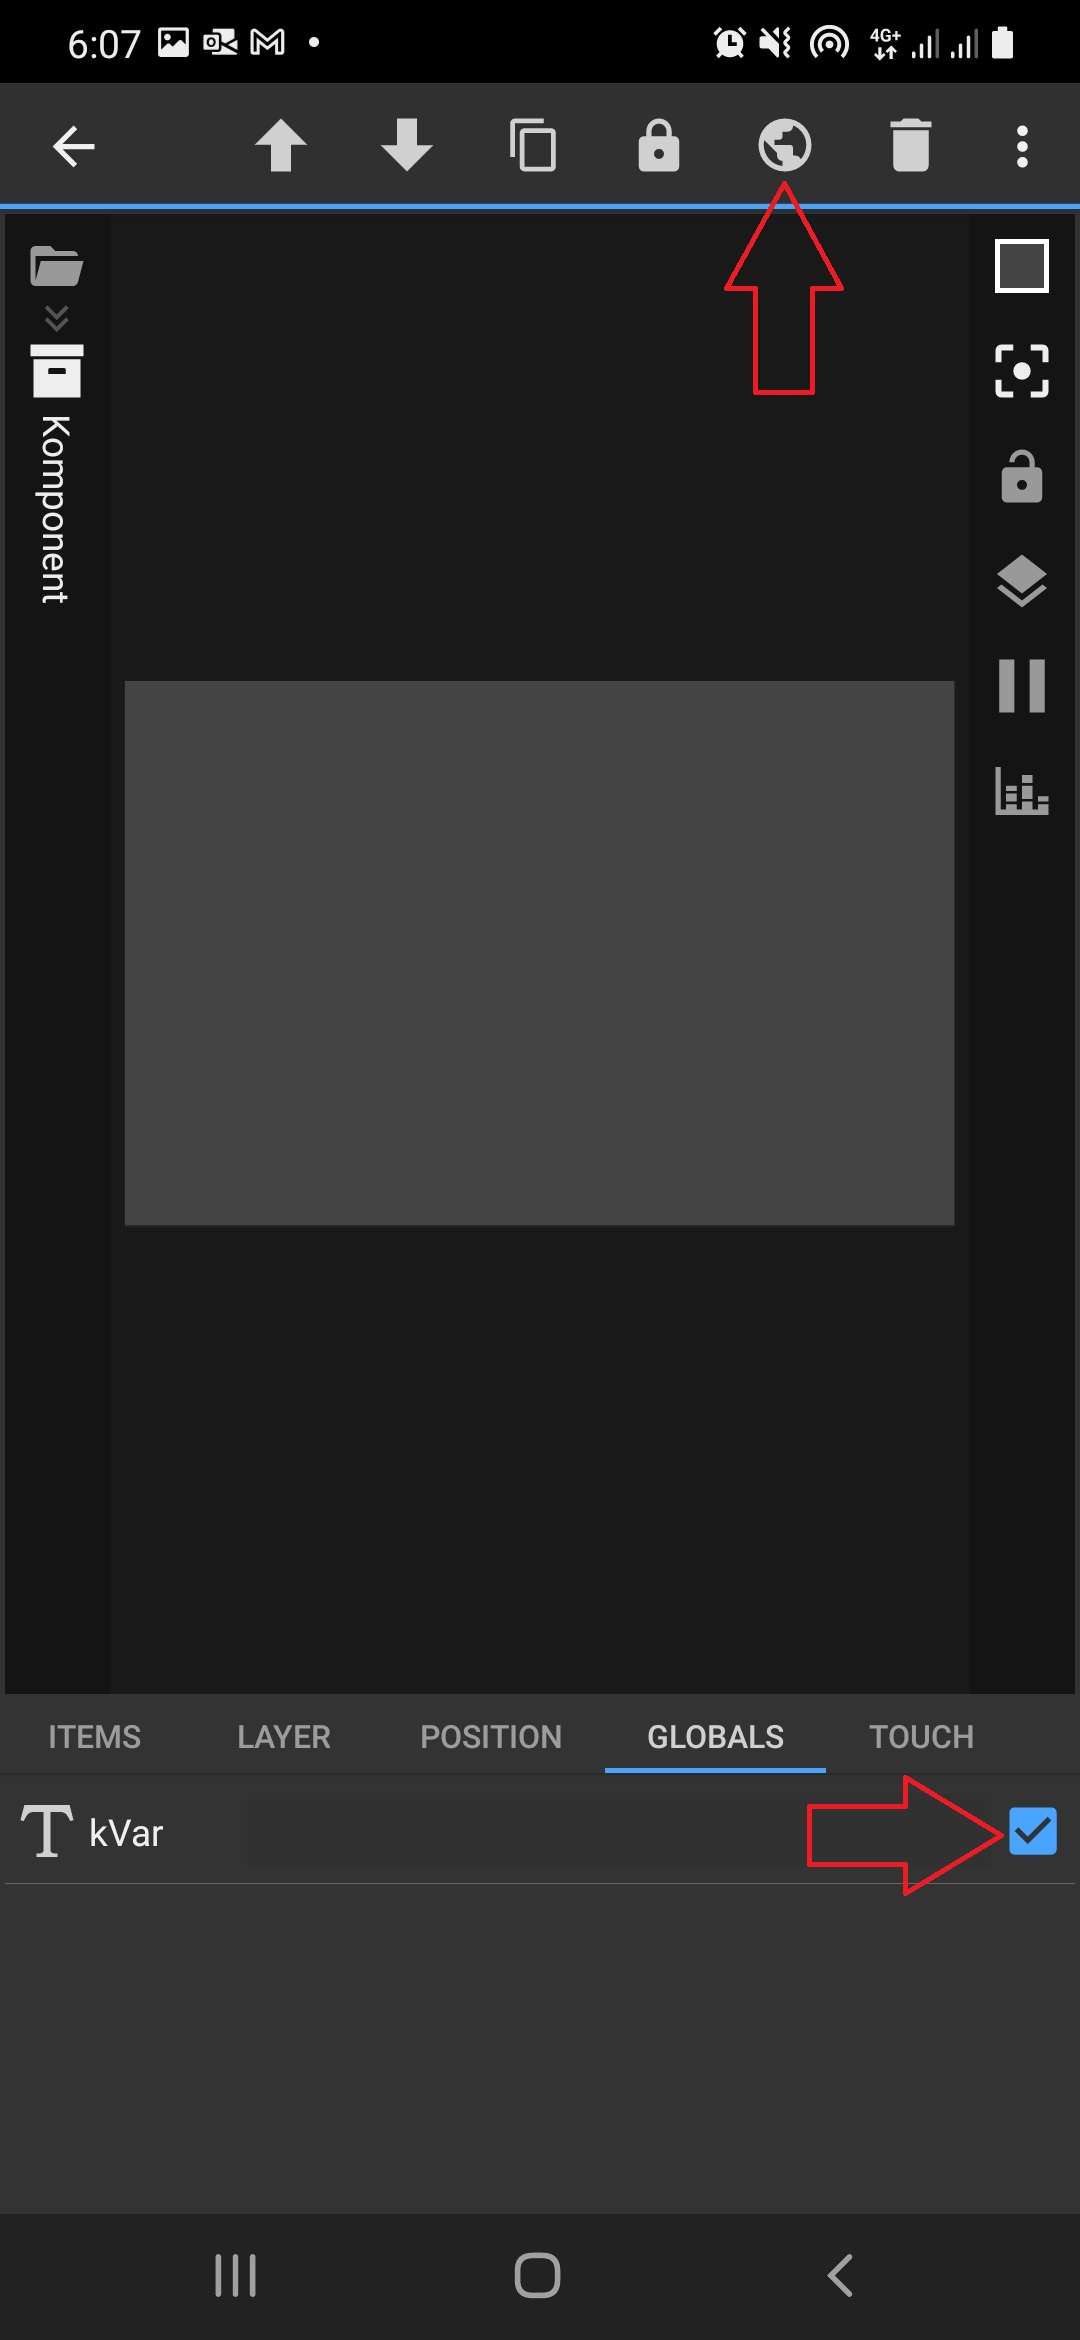
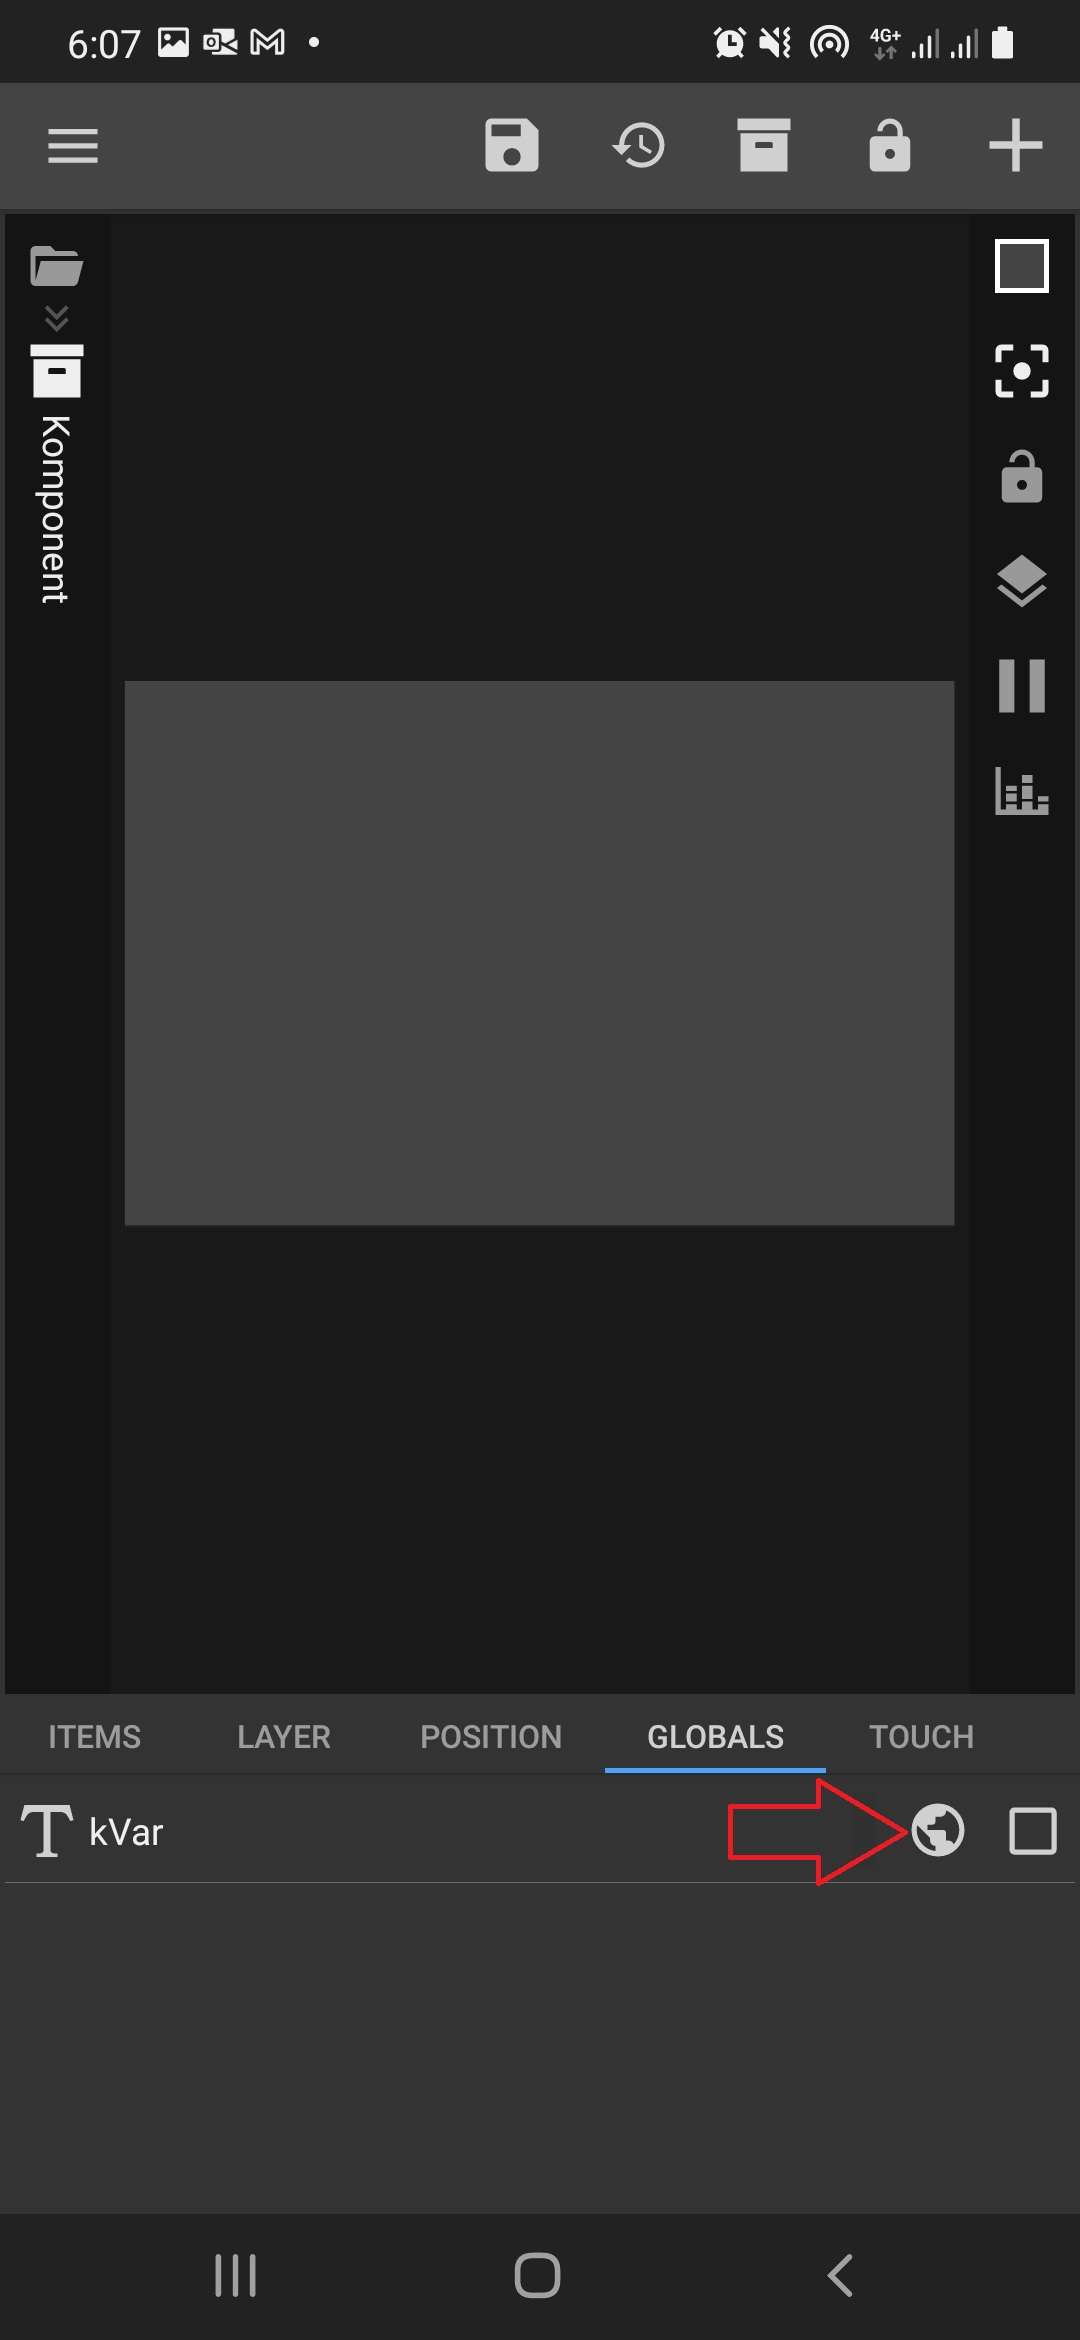
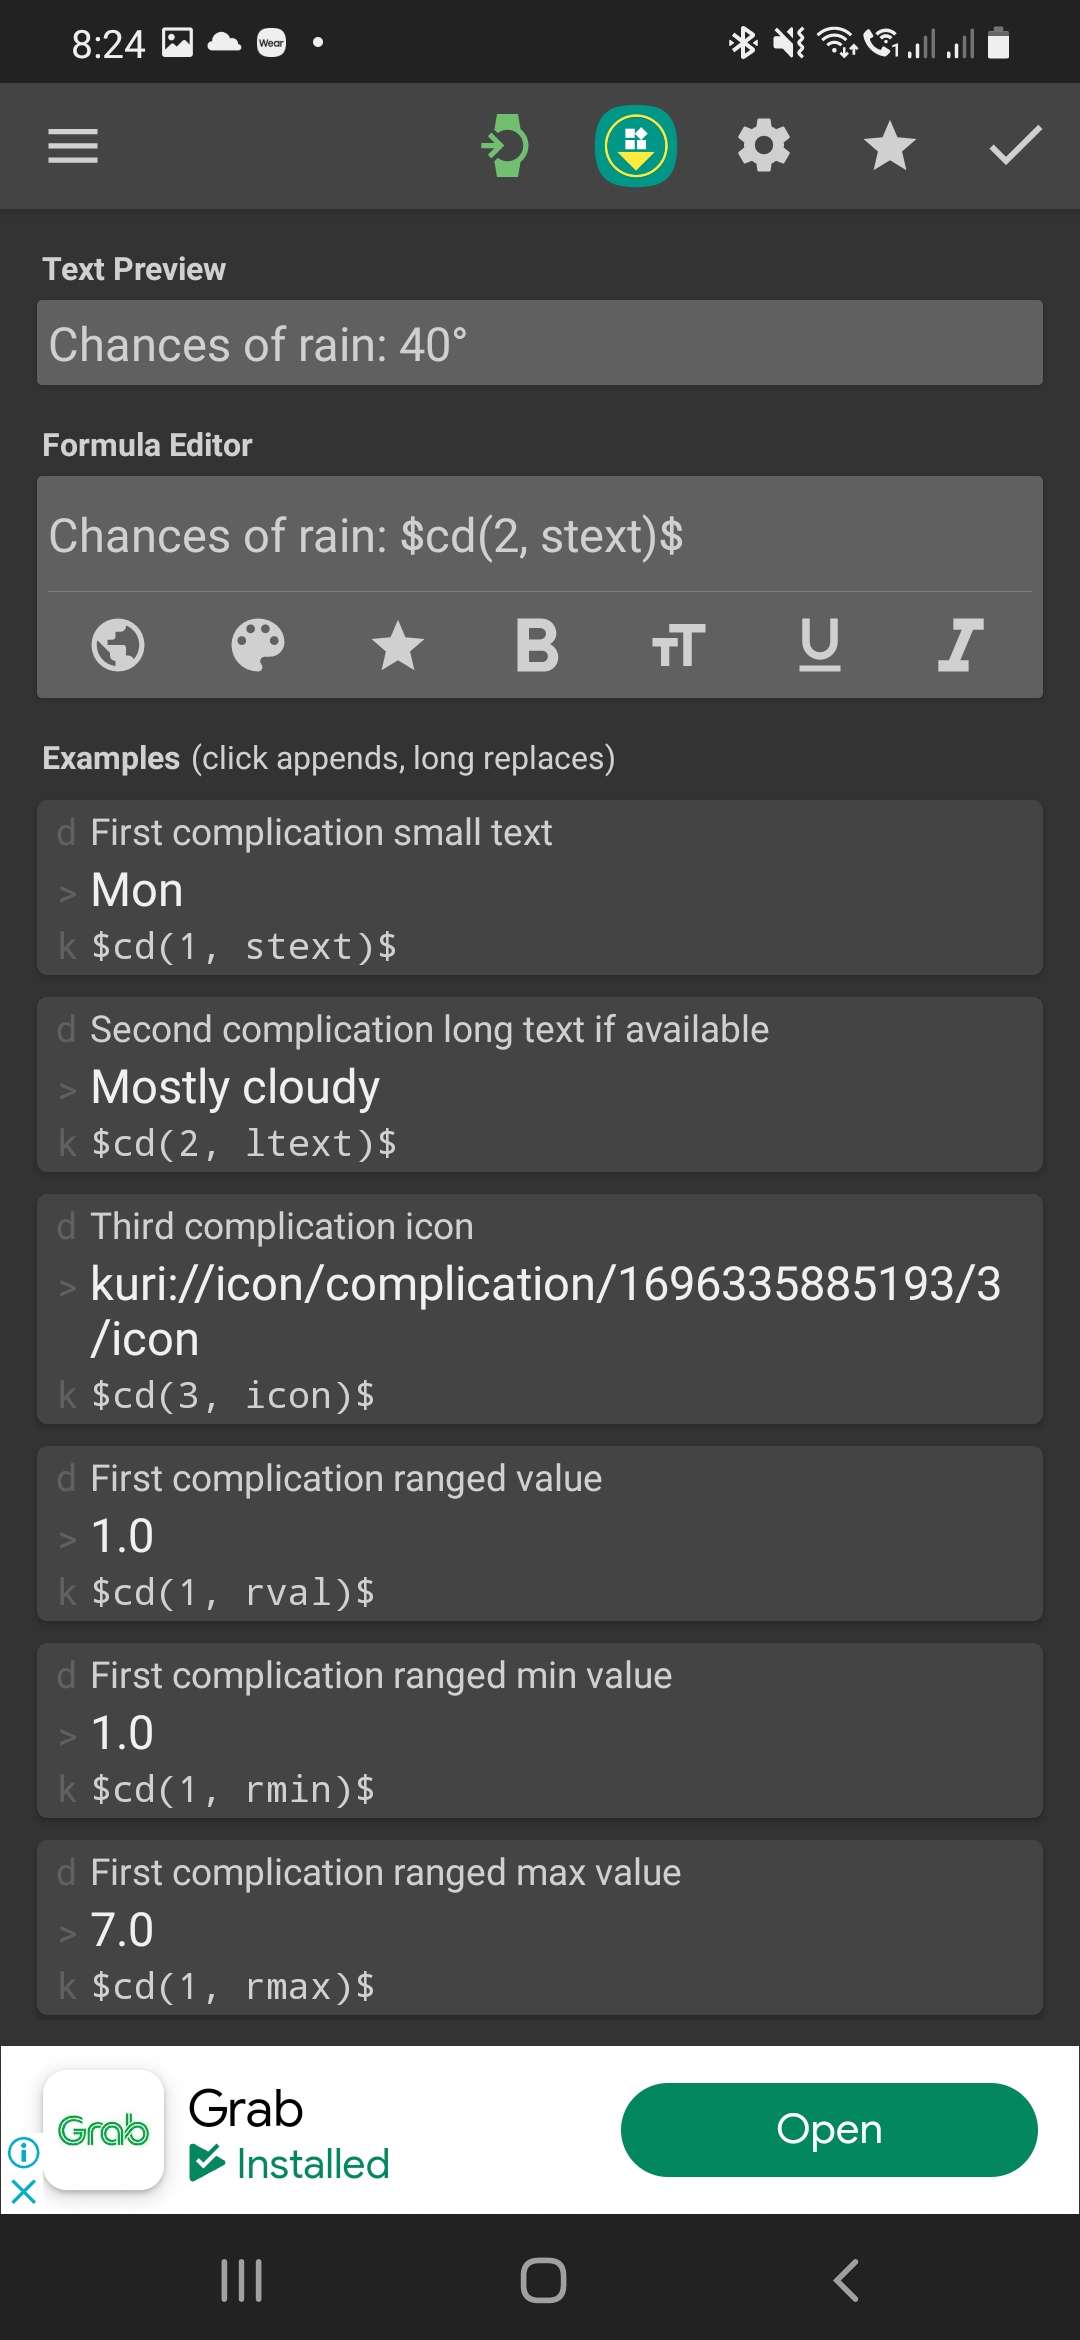
- Add a Complication Data formula to it
- Push the watch face to the watch by tapping on the green watch button at the top
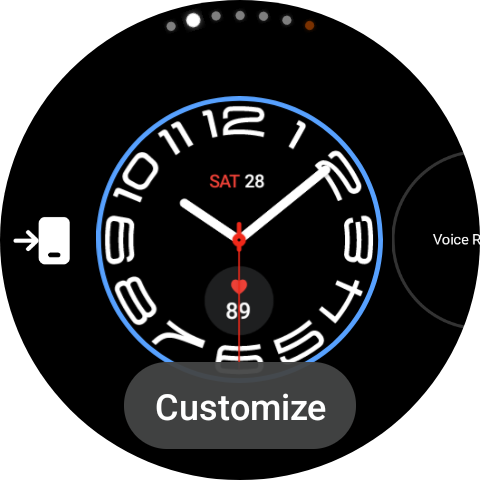
- On the watch, tap and hold on the KWCH watch face
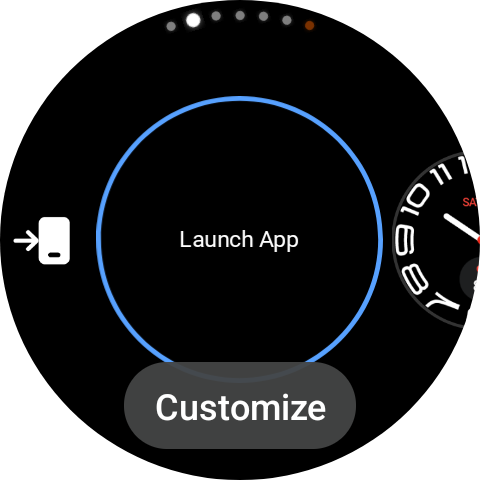
- Select “Customize”
- Tap on “Data”
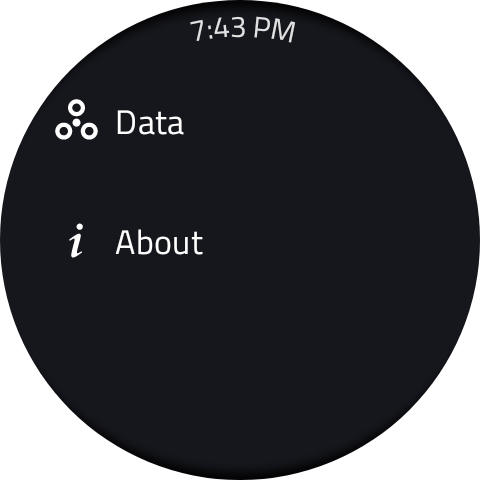
- Select the slot that corresponds to the complication number in step 4
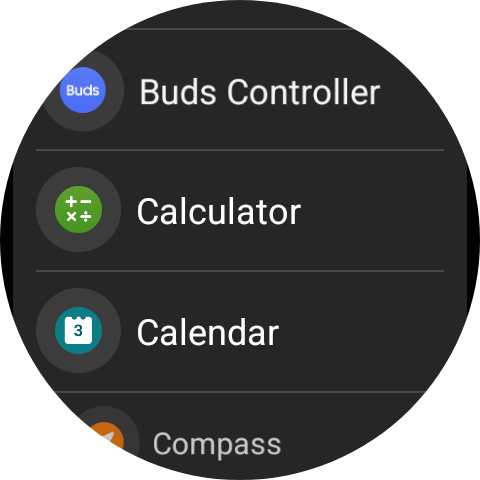
- Select a data that you want displayed
*Note: The steps on the watch side may vary depending on the the make and model of the smart watch
...How to do a Kustom clean installation
#
- Uninstall your Kustom app from your device’s app page
- Open your File Explorer
- Go to Internal/External storage » Kustom or to which ever custom location you’ve set
- Move all the contents of the “Kustom” folder to a backup location
- Delete the “Kustom” folder from step 3
- Create a new empty “Kustom” folder in the root directory of your Internal storage
- Restart the device
- Re-install your Kustom app from the Play Store
- Select the empty “Kustom” folder during the initial setup as the main storage location
** If you’re using multiple Kustom apps, doing the clean install may affect all of them if they all point to the same Kustom folder.
...How to link komponent and root global variables
#
There are instances when you need to access your root global variables from a komponent. To do this, the two variables needs to be linked. The steps below demonstrate how this is done.
- Create a Text global variable (
rootVar
) in your root directory with some data
- Create another Text global variable (
kVar
) in your komponent and leave it empty
- Tap on the check box next to your list
kVar
- Tap on the “globe” icon from the top right
- Tap on the “globe” icon that’s appended to your
kVar
variable
- Select
rootVar
from the list
- Add a Text element in your komponent with the following formula:
$gv(kVar)$
...How to send variables from Tasker
#
With Kustom’s Tasker integration, you should now be able to send your Tasker variables to the Kustom apps using the Broadcast receiver function and a tasker plugin. To do this:
Sending a variable from a Tasker task
#
- Open Tasker and go to the Tasks tab
- Add a new task by tapping on the “+” button from the bottom right
- Give your task a name and tap on the “check” button
- Tap the “+” button to add a new action
- Go to the Plugin category
- Select a Kustom app on the list
- Select the Send Variable kustom action
- Tap on the “pen” icon next to Configuration
- Provide the Kustom Variable and Tasker String and tap on the “check” button
- Tap on the back arrow
- Tap on the “Play” button to execute the action
Receiving the Tasker variable from the Kustom app
#
- Add a text element to your preset
- Change the Text attribute formula to
$br(Tasker, kVar)$
, where kVar is the Kustom Variable name you set from step 9 of the previous part.
- Save and check your widget
** You can apply the Tasker task you just created to any of your Tasker profile
...How to setup KWCH
#
Install
KWCH Kustom Watchface Creator on your phone.
On your watch running Android wear, open the Google Play Store
- Search for “KWCH”
- Install the app (Can also be installed from the the watch manager app on your phone)
- Go back to your phone and open KWCH
- Load/build your preset
- Once done, tap on the green watch icon at the top to push the watch face to your smart watch
- On your smart watch, tap and hold on your current watch face
- Change it to KWCH
How to turn off MIUI Optimization in Xiaomi devices
#
MIUI Optimization is meant to help boost Xiaomi phone’s performance but sometimes it can cause a variety of issues on non-MIUI-based apps such us the Kustom apps. To turn it off, you can use the steps below:
Steps
#
- Head to your device’s settings
- Scroll down and look for “Additional settings”
- Now look to find Developer Options. If it’s not visible, go to the about section on the settings and tap on the MIUI version, keep tapping until it displays “You are a developer now”. Once you get this message, head over to the Advanced settings and you’ll find the developer option.
- Scroll down and look for “MIUI Optimization” and turn it off.